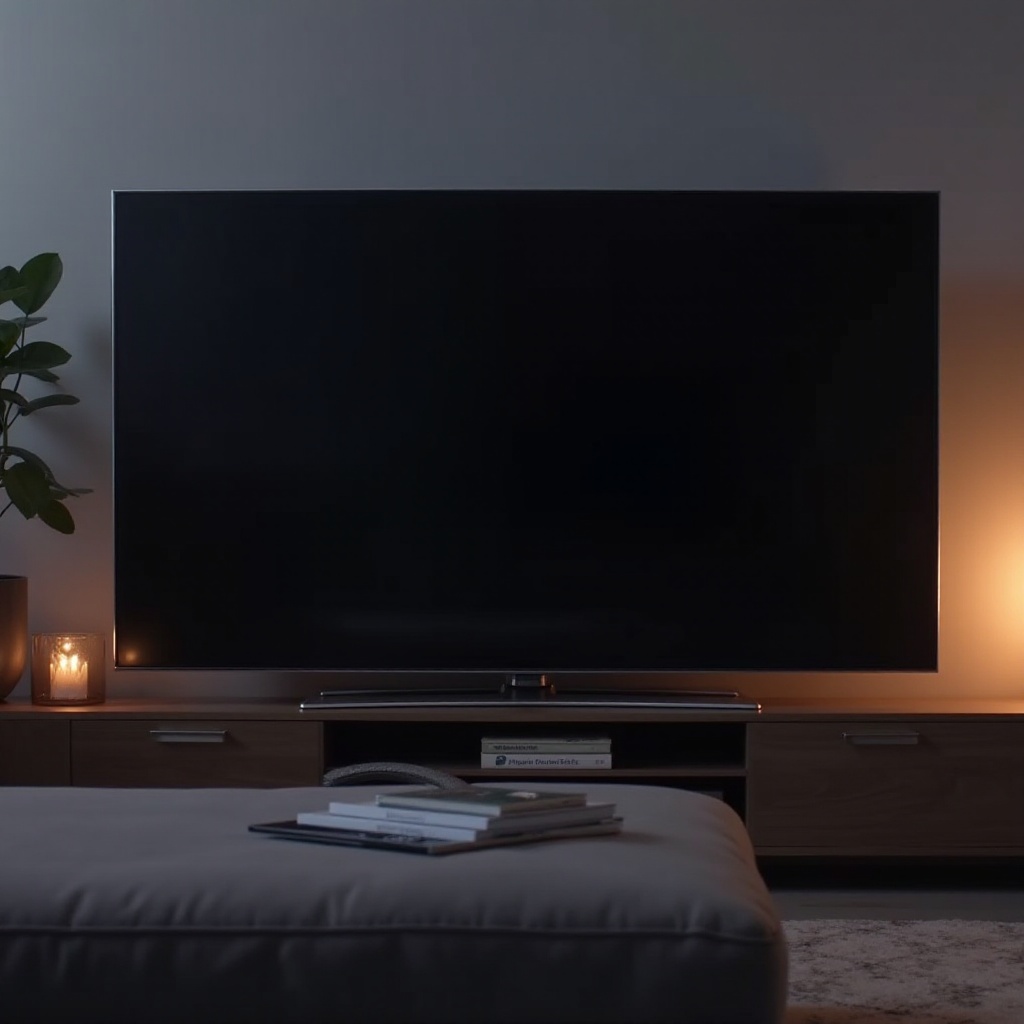
Introduction
Are you ready to revolutionize your home lighting experience? The Philips Hue Bridge is your gateway to a smart lighting system that offers convenience, efficiency, and advanced features right at your fingertips. This central hub allows you to easily control your lights through your devices or voice commands, enabling a transformation toward a more intelligent home. Whether you’re a first-time user or upgrading your current system, this guide will walk you through all the necessary steps to set up your Philips Hue Bridge, offering insights on seamless integration and troubleshooting.
Understanding the Importance of the Hue Bridge
The Philips Hue Bridge is the nerve center for your smart lighting setup. Beyond simply connecting the lights, it allows you to manage up to 50 bulbs, making it ideal for any home size. The Bridge ensures all your lights communicate effectively, providing you with centralized control over your home’s lighting. Moreover, it integrates seamlessly with various smart home platforms and voice assistants for a richer experience, making your setup adaptable and intuitive.
What You’ll Need to Set Up
Before you dive into the setup, make sure you have everything you need. First, purchase a Philips Hue Bridge and the compatible Philips Hue bulbs or devices. You’ll also need a robust Wi-Fi network, preferably one that supports a 2.4GHz frequency, as this will be the backbone of your smart experience. Additionally, ensure you have a smartphone or tablet equipped with iOS or Android to install the Philips Hue app. Having reliable internet connectivity will help maintain software updates and integration smoothly. Gathering these essentials beforehand will streamline your setup process for an enjoyable lighting experience.
Step-by-Step Setup Guide
Unboxing and Initial Connection
- Begin by unboxing your Philips Hue Bridge. Within the package, you’ll find the Bridge, an AC power adapter, and an Ethernet cable.
- Connect the AC power adapter from the Bridge to a power outlet.
- Take the Ethernet cable provided and connect the Bridge to your Wi-Fi router; this initial wired setup secures a stable connection.
Bridging to Your Network
- After the physical setup, observe the LED indicators on the Bridge.
- Ensure all four LED lights illuminate, signaling it’s powered and networked correctly.
- If the lights remain off, verify your connections or assess router settings to resolve network issues.
Installing and Setting Up the Philips Hue App
- Download the Philips Hue app from your app store.
- Open the app and verify your device is on the same wireless network as the Bridge.
- Follow the app’s instructions to detect the Bridge, pressing its button when prompted.
- Complete the initial setup, including time zone settings critical for automated schedules.
- Explore the app’s interface to add, configure, and manage your lighting settings comprehensively.
Adding and Customizing Hue Lights
With your Bridge and app ready, it’s time to incorporate and personalize your lighting.
Adding Your Philips Hue Lights
- Install each Philips Hue bulb into the designated fixture.
- Turn on the lights and, in the app, go to settings > light setup, then search.
- After detection, add the lights to your smart home system via the app.
Organizing Light Groups
- In settings, select room setup to arrange lights into manageable zones.
- Assign lights to specific rooms for individual or group control.
- Customize lighting according to activities, enhancing your home’s functionality and ambiance.
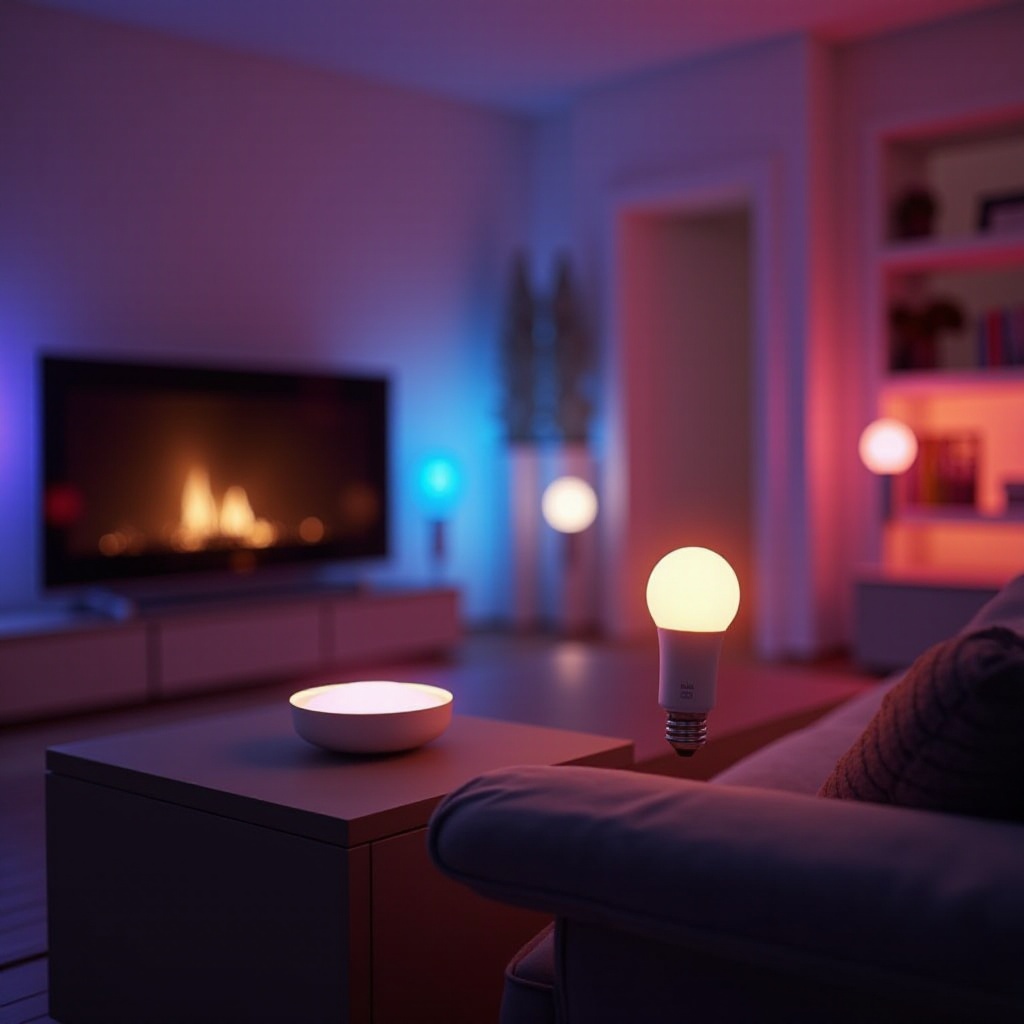
Explore Advanced Features
Now that your lights are set, dive into features that elevate your smart lighting.
Automate with Routines
- Access routines to set up light behaviors based on your routine, location, or other triggers.
- Tailor the automation, adjusting light intensity, color, and schedules to fit your habits.
Voice Assistant and Platform Integration
- Link your Hue system to smart platforms like Alexa, Google Assistant, or Apple HomeKit.
- Follow specific guidelines within each platform for seamless device integration and voice control.
Troubleshooting Tips
Occasionally you might face technical hiccups. If connections falter, verify your Ethernet link and router configurations. A simple reboot or app update can often resolve many problems. Ensure proper bulb installation and app currency to maintain reliable service. Addressing these smaller challenges helps sustain uninterrupted smart home operation.
Conclusion
Completing your Philips Hue Bridge setup introduces consistent and intuitive control over your lighting system. With these steps, embracing smart home technology becomes an easy and rewarding transition. And as your familiarity grows, customize and expand your system for maximum personalization and efficiency.

Frequently Asked Questions
How close does the Philips Hue Bridge need to be to the router?
The Philips Hue Bridge should be near the router for a stable Ethernet connection and optimal performance.
How many lights can I connect to a single Philips Hue Bridge?
You can connect up to 50 Hue lights to a single Bridge, making it suitable for large homes.
Can I use Philips Hue without a bridge?
Yes, some Philips Hue lights use Bluetooth for direct phone connections, but full remote features require the Bridge.