Introduction
Upgrading your computer with a new Intel CPU can significantly enhance its speed and efficiency. This guide will walk you through each step of the installation process, ensuring a smooth and error-free experience. Whether you’re a novice or have prior experience, following these steps will help you install your Intel CPU successfully. Let’s get into it.
Understanding CPU Compatibility
Before diving into the installation, it’s essential to verify that your Intel CPU is compatible with your current setup. This crucial step ensures that your CPU and motherboard will work harmoniously, preventing potential issues down the line.
-
Checking Motherboard Compatibility: Start by identifying your motherboard’s socket type. This information is usually available in the motherboard manual or on the manufacturer’s website. Common Intel CPU socket types include LGA 1151, LGA 1200, and LGA 1700. Ensure your CPU is compatible with the socket type.
-
Power Supply and Cooling Requirements: Check that your power supply unit (PSU) offers adequate wattage to support the new CPU. Additionally, consider the cooling solution. While some CPUs come with a stock cooler, investing in an aftermarket cooler can provide better performance and increased longevity.
With compatibility confirmed, it’s time to gather the necessary tools and materials to proceed with the installation.
Tools and Materials Needed
Having the right tools on hand simplifies the installation and minimizes the risk of errors. Here’s a list of essentials you’ll need:
- Essential Tools for Installation:
- A magnetic screwdriver to handle small screws with ease.
- Thermal paste, unless it comes pre-applied with your cooling solution.
-
An antistatic wrist strap to prevent electrostatic discharge from damaging components.
-
Important Safety Precautions:
- Ensure the computer is powered down and unplugged before commencing.
- Use the antistatic wrist strap or touch a grounded metal object periodically to discharge static electricity.
Now let’s prepare your workspace for a safe and efficient installation process.
Preparing Your Workspace
Creating an organized and static-free workspace is crucial for a successful CPU installation.
-
Powering Down Your System: Begin by shutting down your computer and unplugging all connected cables. Hold down the power button for a few seconds to completely discharge any residual power. Doing so ensures safety and protects your hardware from damage during the installation.
-
Creating a Static-Free Environment: Work on a clean and non-conductive surface, such as a wooden table. Wear an antistatic wrist strap and ensure the area is clutter-free to prevent accidental damage or static discharge to the CPU.
With your workspace ready, you can now proceed to remove the existing CPU, if applicable.
Removing the Old Processor (if applicable)
If you are replacing an existing CPU, it’s important to remove it carefully to avoid damaging your motherboard or other components.
- Steps for Safe Removal:
- Open the computer case by unscrewing the side panel.
- Disconnect the CPU fan power cable from the motherboard.
- Remove the CPU cooler by carefully unscrewing or unclipping it, according to its type.
-
Unlock the CPU socket by lifting the retention arm, then gently lift the old CPU out.
-
Handling and Disposing of the Old CPU: Handle the CPU by its edges, avoiding the pins or contacts. If you plan to reuse it, store it in an antistatic bag. Otherwise, dispose of it following local electronic waste guidelines.
With the old CPU out of the way, you are now ready to install your new Intel CPU.
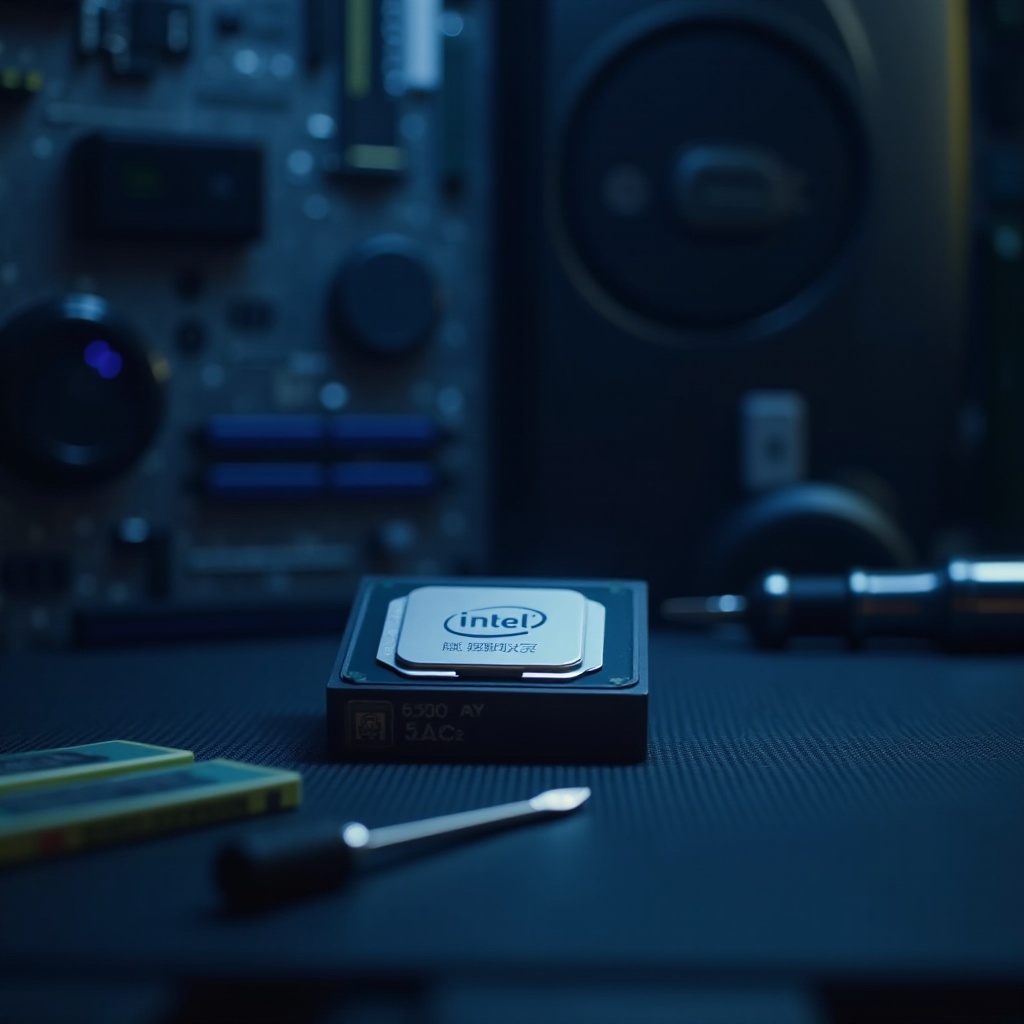
Installing the New Intel CPU
It’s time to place your new Intel CPU into its rightful position on the motherboard.
-
Opening the CPU Socket: Carefully lift the retention lever or open the CPU socket arm on your motherboard. Be gentle to avoid any damage to the socket pins.
-
Correct Placement and Locking Mechanism:
- Align the new CPU with the socket using the alignment markers, such as a marked corner or triangle.
- Gently place the CPU into the socket without applying pressure.
- Secure the CPU by lowering the retention lever, ensuring it locks in place without excessive force.
Now that the CPU is installed in the socket, the next step involves thermal management to ensure efficient operation.

Applying Thermal Paste and Installing the Heatsink
Proper heat management is vital for CPU efficiency. Here’s how to apply thermal paste and install the heatsink:
- Applying Thermal Paste Properly:
- Place a small pea-sized amount of thermal paste in the center of the CPU.
-
Do not spread the paste manually; the heatsink will distribute it evenly upon installation.
-
Attaching the Heatsink:
- Once the thermal paste is applied, position the heatsink over the CPU, aligning it with the mounting holes.
- Secure the heatsink by tightening the screws in a crisscross pattern to ensure even pressure.
- Connect the CPU cooler fan cable to the CPU_fan header on the motherboard.
With cooling in place, you can now focus on reassembling your computer.
Reassembling and Booting Up Your System
As the installation process nears completion, it’s time to reassemble and test your system.
- Reassembling the Computer Case:
- Reattach the side panel of the computer case and secure it with screws.
-
Reconnect all cables and peripherals to the system.
-
Performing a First Boot Test:
Power on the system and enter the BIOS/UEFI by pressing the designated key (typically Del or F2) during the boot sequence. Check that the system recognizes the new CPU, and monitor temperatures to verify proper functioning.
Should you face any unexpected issues during the process, the troubleshooting section will offer solutions.
Troubleshooting Common Issues
Every installation may encounter hiccups. Here’s how to address some common problems:
- Fixing Installation Errors:
- If the system doesn’t boot, verify all connections and ensure the CPU and RAM are seated correctly.
-
Double-check that all necessary power connections are secured.
-
When to Seek Professional Help:
If the problem persists after troubleshooting, consult a professional technician to prevent further damage to your system.
Having completed these steps, you now have a newly installed Intel CPU ready to enhance your computing performance.

Conclusion
Installing an Intel CPU is a rewarding process when done methodically and carefully. With the right tools and clear instructions, you can successfully complete the installation and enjoy the enhanced performance and capabilities of your upgraded system. Enjoy your newly powered-up computing experience!
Frequently Asked Questions
Can I install an Intel CPU on any motherboard?
Not all motherboards support every Intel CPU. Always check the socket type and chipset compatibility.
How much thermal paste should I use when installing a CPU?
A small pea-sized amount is sufficient. Over-application can cause issues and unnecessarily waste paste.
What should I do if my computer won’t boot after CPU installation?
Check all connections, review the seating of the CPU, RAM, and other components, and consult the motherboard manual.