Introduction
Partitioning an external hard drive on a Mac can significantly enhance your storage management and boost overall system performance. By dividing your drive into distinct sections, known as partitions, you can better organize your data, run multiple operating systems, or designate specific areas for backups and media files. This guide will delve into the need-to-know aspects of partitioning external hard drives on a Mac, equipping you with a detailed, step-by-step methodology for optimized storage solutions.
Understanding Hard Drive Partitions
Grasping the fundamentals of hard drive partitions is crucial for maximizing your storage utilization. A partition is effectively a subdivision of your hard drive, enabling you to manage various data segments as independent units.
Partitioning offers numerous advantages, particularly in macOS environments. For starters, it facilitates dual-booting, allowing you to install and operate multiple operating systems such as macOS and Windows on the same drive. Furthermore, it aids in meticulous data organization by providing dedicated sections for endeavors like media storage or system backups. With a solid understanding of these benefits, you are well-prepared to embark on partitioning your drive.
Preparing Your External Hard Drive for Partitioning
Proper preparation is pivotal before you undertake the partitioning process. Here’s what needs to be done to ensure a seamless experience:
-
Back Up Your Data: This is an essential step to safeguard your information. Altering the structure of your drive through partitioning can lead to data loss if precautions aren’t taken. Utilize Time Machine or alternative backup methods to secure vital files.
-
Check Drive Compatibility: Ensure that your external hard drive is compatible with macOS. This typically entails using a file system such as APFS (Apple File System) or HFS+.
By adequately preparing, you significantly diminish potential risks and lay the groundwork for a successful partitioning process on your Mac.
Step-by-Step Guide to Partitioning an External Hard Drive on macOS
With your drive ready for partitioning, proceed with these steps:
-
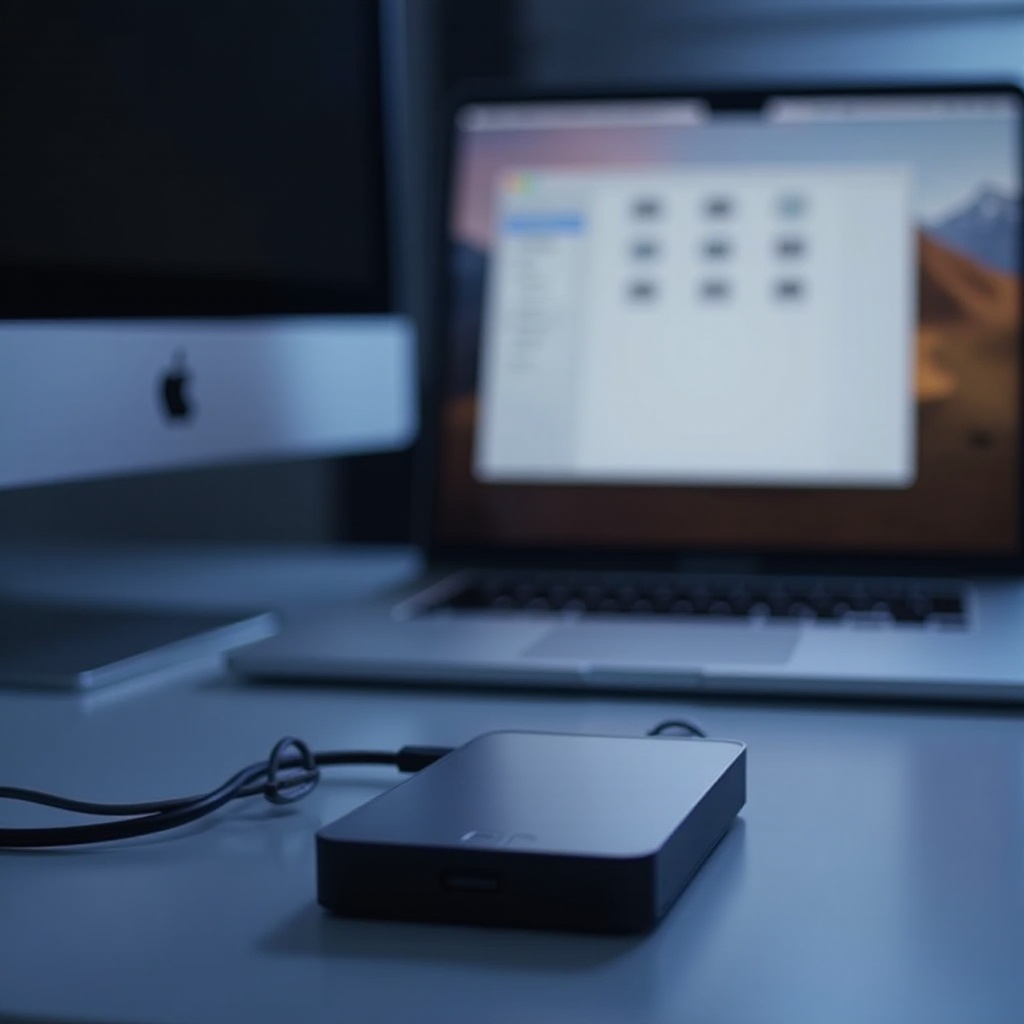
Connect Your Drive: Attach the external hard drive to your Mac using an appropriate USB or Thunderbolt connection.
-
Open Disk Utility: Navigate to ‘Applications’ > ‘Utilities’ > ‘Disk Utility.
-
Select Your Drive: Within Disk Utility, choose your external drive from the menu on the left.
-
Partition Your Drive:
- Click on the ‘Partition’ button.
- Press the ‘+’ button to add a new partition.
-
Assign a name and size to your partition. Adjustments can be made by dragging the partition layout diagram or entering a specific value.
-
Select Format Type: Opt for APFS or HFS+, with APFS generally recommended for modern macOS systems due to its efficiency and speed.
-
Apply Changes: Verify your settings and select ‘Apply.’ Disk Utility will format the new partition and prepare it for use.
These systematic steps will enable you to effectively partition your external hard drive, tailoring it to your distinct requirements.
Advanced Partitioning Techniques
Beyond basic partitioning, there are advanced techniques to address specific needs. For instance, dual booting allows you to run multiple operating systems, requiring you to dedicate separate partitions for each OS. Boot Camp or similar installation software can facilitate this setup.
Another approach involves creating dedicated partitions for particular purposes, such as allocating one for Time Machine backups and another for storing media or work-related files. Leveraging these advanced methodologies allows for a more customized and versatile storage configuration.
Troubleshooting Common Partitioning Issues
Despite meticulous preparation, partitioning may present challenges. Here are solutions to some common problems:
-
Partition Fails to Create: Confirm you’re using a suitable format and that the drive’s partition map scheme is set to GUID.
-
Data Loss: Backing up data is critical, but if data loss occurs, data recovery software might help retrieve lost files.
-
Inaccessible Partitions: Try reconnecting the drive and restarting your Mac. Adjusting permissions in Disk Utility may also be necessary.
Being aware of these potential obstacles and their resolutions ensures a smoother partitioning experience.
Conclusion
Partitioning your external hard drive on a Mac efficiently enhances your storage management capabilities, leading to improved data organization and system performance. By following the step-by-step instructions and understanding both basic and advanced partitioning techniques, you can address your specific storage requirements effectively. Regular maintenance and backups are essential for sustaining a healthy and reliable storage system, allowing you to fully benefit from your partitioning efforts.
Frequently Asked Questions
Can I partition an external hard drive without losing data?
Yes, you can partition without data loss by carefully adjusting settings in Disk Utility. Ensure you back up your data first.
How many partitions can I create on an external drive on macOS?
Technically, you can create as many partitions as you wish, but practical and performance considerations suggest fewer, well-organized partitions.
What is the best format for a new partition on macOS?
APFS is recommended for modern macOS systems due to its efficiency, speed, and enhanced file management capabilities.